
HOME
Operation Manual for Fully Automatic Softening Water Equipment-Installation Section
1.Installation requirements:
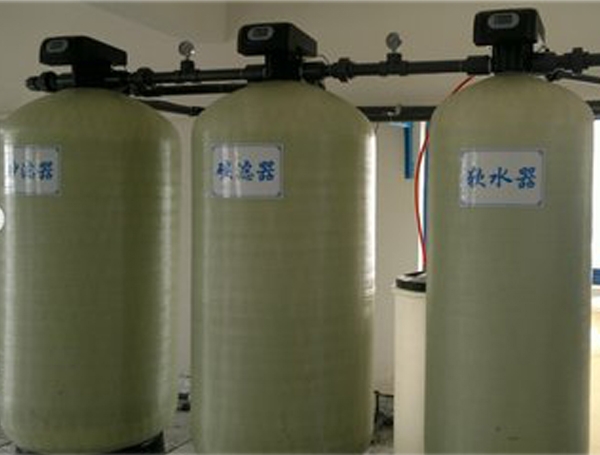
1)The water softener should be placed on a sturdy cement platform,with a drainage channel nearby,and the drainage volume of the drainage pipe should match that of the water softener.
2)The salt storage box(salt drum)should be placed near the resin tank,with a distance of no more than 200MM between them,and the length of the salt suction pipe should be shortened as much as possible.
3)When the water softener is directly connected to the heating equipment,a pipe distance of at least 3 meters should be maintained and a one-way valve should be installed.
4)The placement of salt storage tanks should facilitate the replenishment of regenerants.
5)There should be space for operation,inspection,and repair near the equipment.
2.Pipeline connection:
1)Please refer to the relevant content of local construction standards for the connection of pipelines.
2)Connect the inlet and outlet pipes according to the diameter of the control valve.
3)The inlet and outlet pipes should be equipped with manual valves,and a bypass valve should be installed between the inlet and outlet pipes.A sampling valve should be installed on the outlet pipe,and a Y-shaped filter is recommended for the inlet pipe.
4)Try to shorten the length of the drainage pipe as much as possible,reduce curvature,and ensure that the distance between the control valve and the drainage channel does not exceed 2 meters.
5)When connecting the drainage pipe to the drainage channel,it is necessary to maintain a certain space between the drainage pipe and the water surface of the drainage channel to prevent live water from being siphoned back to the water softener.
6)Valves of all kinds shall not be installed in drainage pipelines.
7)The connection of the saltwater pipe must maintain good sealing,otherwise it will affect the regeneration effect of the water softener.
8)Install an overflow port on the reserved hole of the saltwater tank and connect it with a plastic pipe(purchased by the user)to the drainage channel.
9)All types of pipelines must be equipped with irregular independent supports,and it is not allowed to transmit the gravity and stress of the pipeline to the control valve.
3.Electrical connection:
1)Confirm that the electrical parameters of the control valve are consistent with the power supply.
2)Insert the plug into the matching socket.
3)Power sockets should not be controlled by nearby switches.
4.Resin filling:
1)Before resin installation,the central collection tube(with a water distributor)should be placed in the center of the resin tank.At this time,the central tube should be sealed with tape to prevent quartz sand and resin from entering the central tube
2)Pour the quartz sand into the resin tank according to the prescribed amount and fill the gaps around the central tube,and level it at the bottom of the tank.
3)Pour the processed resin(Yang resin)into the resin tank around the center tube according to the specified filling amount.
4)The above operation should always keep the central tube in the center position of the resin tank.
5)Remove the sealing tape from the center tube.
6)Align the socket of the control valve with the center pipe and carefully rotate the control valve clockwise.(Note:When rotating,apply lubricant to the center pipe mouth and make sure the center pipe is inserted into the valve body)until the control valve is tightened on the tank interface.